STARGATE SG-1 - Hero Atanik Armband from O'neill
Was during the Gatecon convention in Vancouver (september 2016), that i acquired a hero atanik armband device, worn by richard dean anderson, from Legends Memorabilia, it came with a pair of extra wings, but wasn’t working anymore, and some improvements could make it better.
What a wondeful coincidence that’s the kind of work i love to do ! :D
The whole electronic system was covered with a foam pad, glued with contact cement , it was obviously made for one use, as the whole foam was glued, which means it wasn’t possible to access the electronic unless ripping off the foam.
The tag wasn’t sticking anymore to the foam, so i kept it separatly until done with the repairs.
Le label de production ne collait plus, je l'ai donc mis de côté pour le recoller plus tard.
The foam was removed (ripped off :( ), and drawn again into a sheet of thick paper.
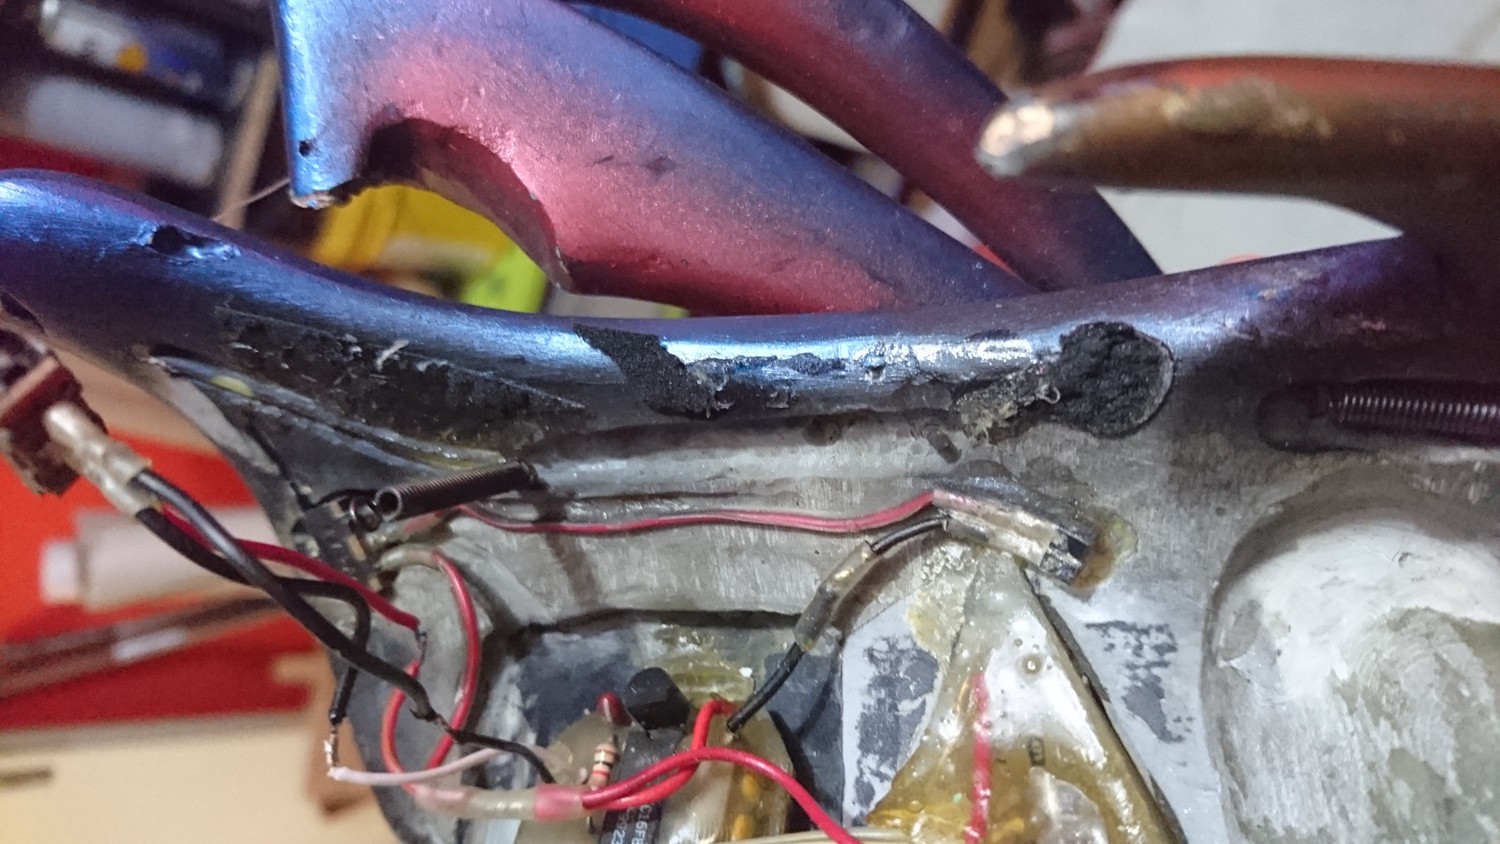
Behold you mighty !! Here is the guts of this prop, i felt like i was dissecing a mouse during a science teaching class ! Damn, now i realise how old i am ! Props can depress you so much sometimes you know …
The board and light system were REALLY well done, like REALLY !! But somehow the finishing touches was a bit poor, i guess the production team had to rush and as it was only used for one episode they put the best effort into the board and light to avoid any issues and quickly did the rest.
Batteries were directly soldered to the system, covered with non conductive tape, the only way to change the batteries was to cut off the tape, unsoldered them and try new ones.
So i changed that, bought a double battery holder and installed it, way safer than soldering directly to those lithium batteries as if heated too much by the soldering gun , can explode.
I kept the original battery wires safely, it’s « original « after all !
Photos 1 et 2 : original battery set up
Photo 3 : new battery holder on the left, previous old original wires
Photos 4 et 5 : new battery holder installed
I soldered back the wire that was cut off , i had to remove the power button to get an easier access and more confortable way to work with it, glued the button back, and the prop was working again !!
Time for some others improvements, the board was giggling all around as wasn’t attached to the prop, so i gently pour hot glue to secure it and covered with non-conductive tape.
A new foam pad was cut out from the drawing made earlier.
This time i wanted to have an easier access to the electronic system, so i used velcro along the foam pad. Previous remain of glue had to be removed, i scrapped them with sculpting tools and x-axto knife and use acetone sometimes when needed.
Instead of randomly applying glue, i did it in a very specific way.
First i cut out two streams of velcro that i glue to the foam pad with contact cement.
Then i applied this onto the props and make some marks where the opposite side of the velcro will be held on.
I covered the areas that didn’t needed glue with masking tape, applying the contact sement, and instantanly removed the masking tape, waited 10 minutes, then press the foam pad’s velcro to it.
The goal of his process was to avoid excess of glue and using just what’s needed, you can see it gives a way better look and access to the electronic system.
Final shots :


![FullSize-sg10403-0001xe[1].jpg](https://images.squarespace-cdn.com/content/v1/591cbd04be65940e1e18b676/1522423619338-V5CJOI0S0XZHE78K9T0A/FullSize-sg10403-0001xe%5B1%5D.jpg)
![FullSize-sg10403-0014xe[1].jpg](https://images.squarespace-cdn.com/content/v1/591cbd04be65940e1e18b676/1522423619837-NTEH6LZ86YN894BHOS4E/FullSize-sg10403-0014xe%5B1%5D.jpg)


