STARGATE ATLANTIS/ORIGINS- DHD - Dialing Home Device - Part 2/4
>> Bottom part - Resculpting the front cover
First pic is the “raw” condition after the reinforcement process. I had previously made a cast of the frontplate out of epoxy for that step (pic 2 & 3).
Starting to cut out the DHD, and matching the frontplate I had (which was a direct copy from an original).
It was a pain to match the shape of the frontplate with the dhd shape and realized I had to cut the hole a bit larger than necessary.
So I made another plate, re-applied it manually to adjust, then cutting again, etc
I started sculpting the front part area manually which was - at that time - part polyester and part manually sculpted to fit.
I mainly used sanding files to carve the grooves along with sandpaper, bondo, spray bondo and wetsanding until I got a nice surface.
Matching the DHD shape and frontplate shape was still a pain. At some point I just got fed up trying to bend, fix tiny area with the rotary tool, etc
So I gave up on this piece. I decided to throw this frontplate away, and made a new one to perfectly fit the DHD shape.
I glued a board of wood to the inside of the DHD, filled the gap with wed clay, remove the board with the clay sticking to it, sculpted the surface of the clay using first frontplate mold as a stamp, made a new mold, made a new cast, and BA !! Now fits perfectly.
Once I had made this new frontplate pristine I made a mold of it, just in case it gets lost or damaged while travelling to conventions, events, etc
>> Bottom part - Creating the internal DHD circuit
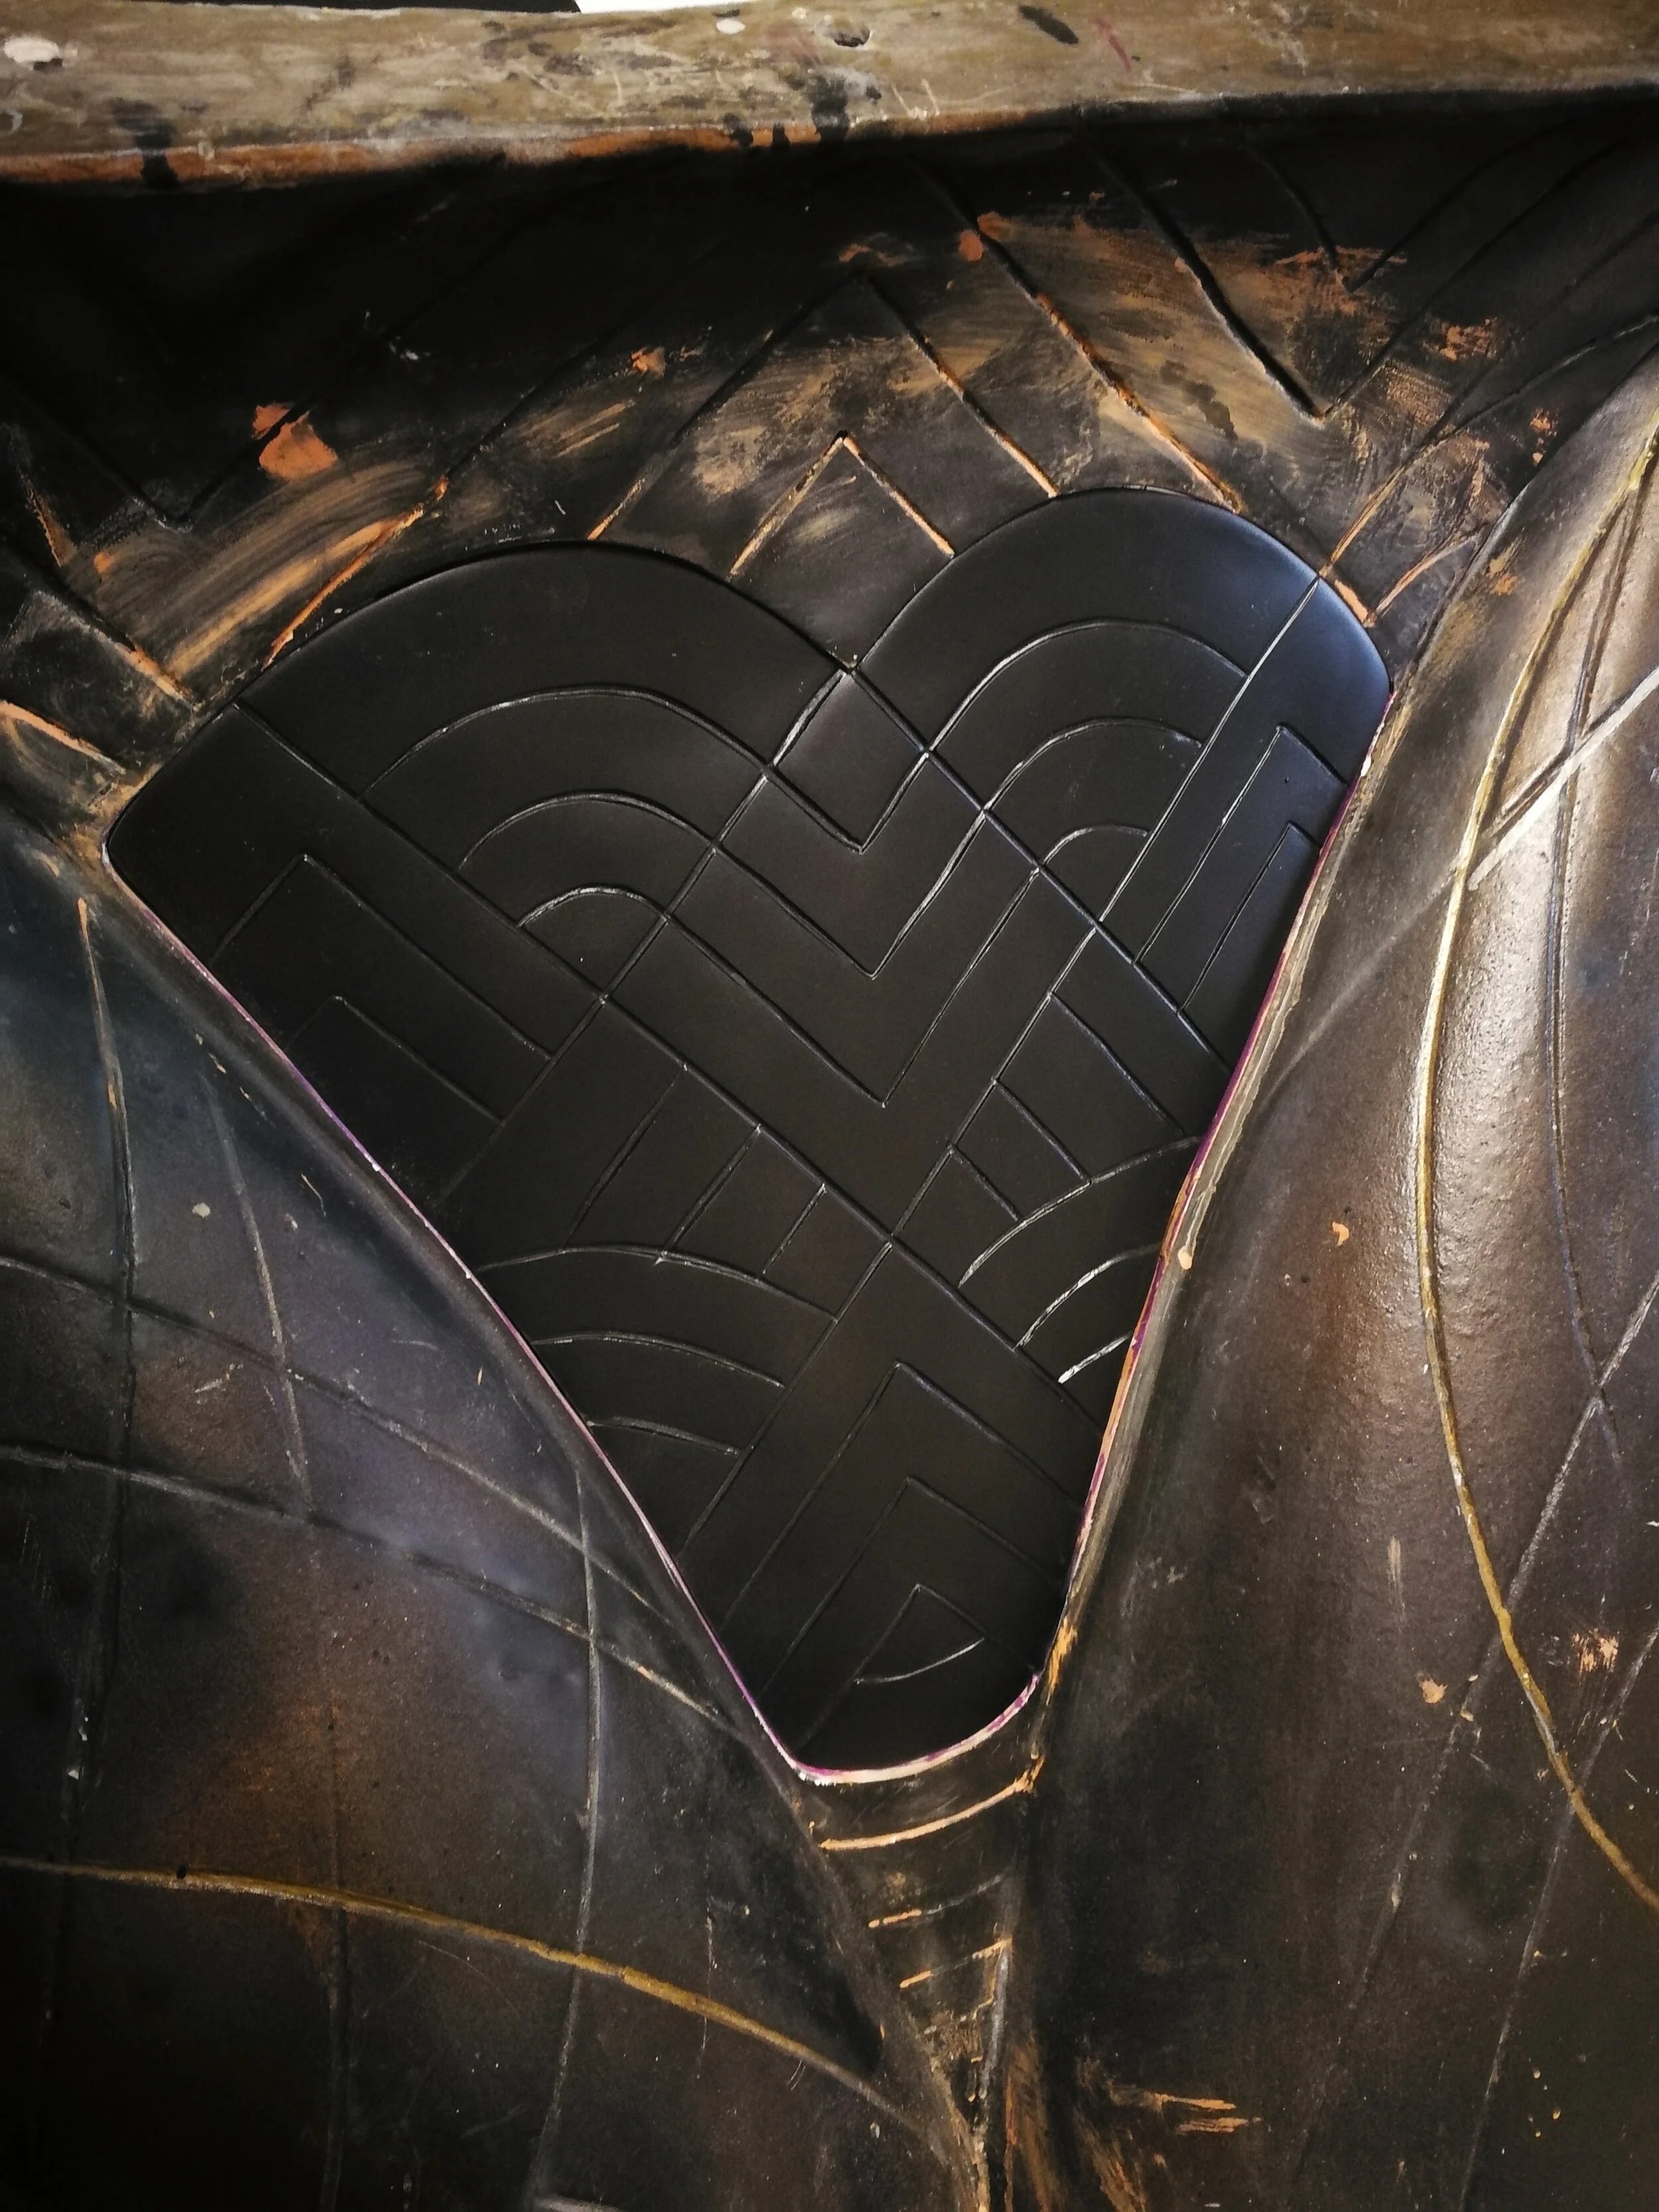
Because I didn’t just wanted to “restore” the DHD, I would do have done everything to the DHD so it would have all the features from the show -lights, sounds, etc).
In the last seasons of SG1, production actually cut DHD#1 on the front to add internal circuits. That can also be seen several times in Stargate Atlantis.
I went with aluminium to make that piece, starting by cutting the shape out of a thin sheet of aluminium.
In order to create a recess I took a strip of metal, cut gaps in several places in order to bend it and then welded those bends.
Then I welded the recess gap to the front aluminium sheet and completely cleaned it.
Now I had to create a recess for the whole piece, so I cut a strip of thin aluminium, and welded it all around the heart shaped piece.
As I previously had access to DHD#1, I was able to take references photos from the internal circuit.
I drew them in Inkscape, then they had been lasercutted out of thin layers of plastic, glued, primmed and basecoaed.
In order to install it securely, I drilled from the front of the DHD until the sockets from the heart shape internal circuit.
Then to secure it even more I manually applied epoxy with fiberglass, laying from the metal to the DHD.
>> Top part - Restoring process - Casting defects or “Blurps”
The casting had lots and lots of defects around the frieze. The mold probably had rips torn previously in some areas during the production which resulted in some blurps into the final casting.
I hesitated a long time on what to do about them. Some will say it’s part of its history, some will say it’s just casting defects. After debating with friends in the original props hobby I came to the conclusion that those blurps should be removed.
Blurps :
Blurps removed and primed
It doesn’t seems so, but the whole process took a full day.
>> Top part - Restoring process - Damaged areas
Right arm
This was the original condition of it when received.
The full repairing process until the area was basecoated black.
During the reinforcement process I wasn’t able to reach the inside of the arms as they were too tight. So I made a trench from the outside and poured expanding foam into the arms and then taped the hole shut. Once it was all cured I removed the tape and a long process of sanding, applying bondo manually, wetsanding, priming, sanding, etc started.
Basically, I manually patched the big gaps, sanded that down, fixed the bubbles and defects with bondo, wetsanded, on and on until I was pleased with the results. The goal though was not to get the smoothest surface ever, because a texture would need to be apply later on.
Bottom
Same process was applied, bondo done manually, lots of sanding and black basecoat
Top area, with bit of right arm again
Again, damages to repair, appliyng manually, bondo, sanding, more bondo, more sanding, etc etc until black basecoat
Back area
YES ! AGAIN ! bondo, sanding, etc Damn !
Texturing
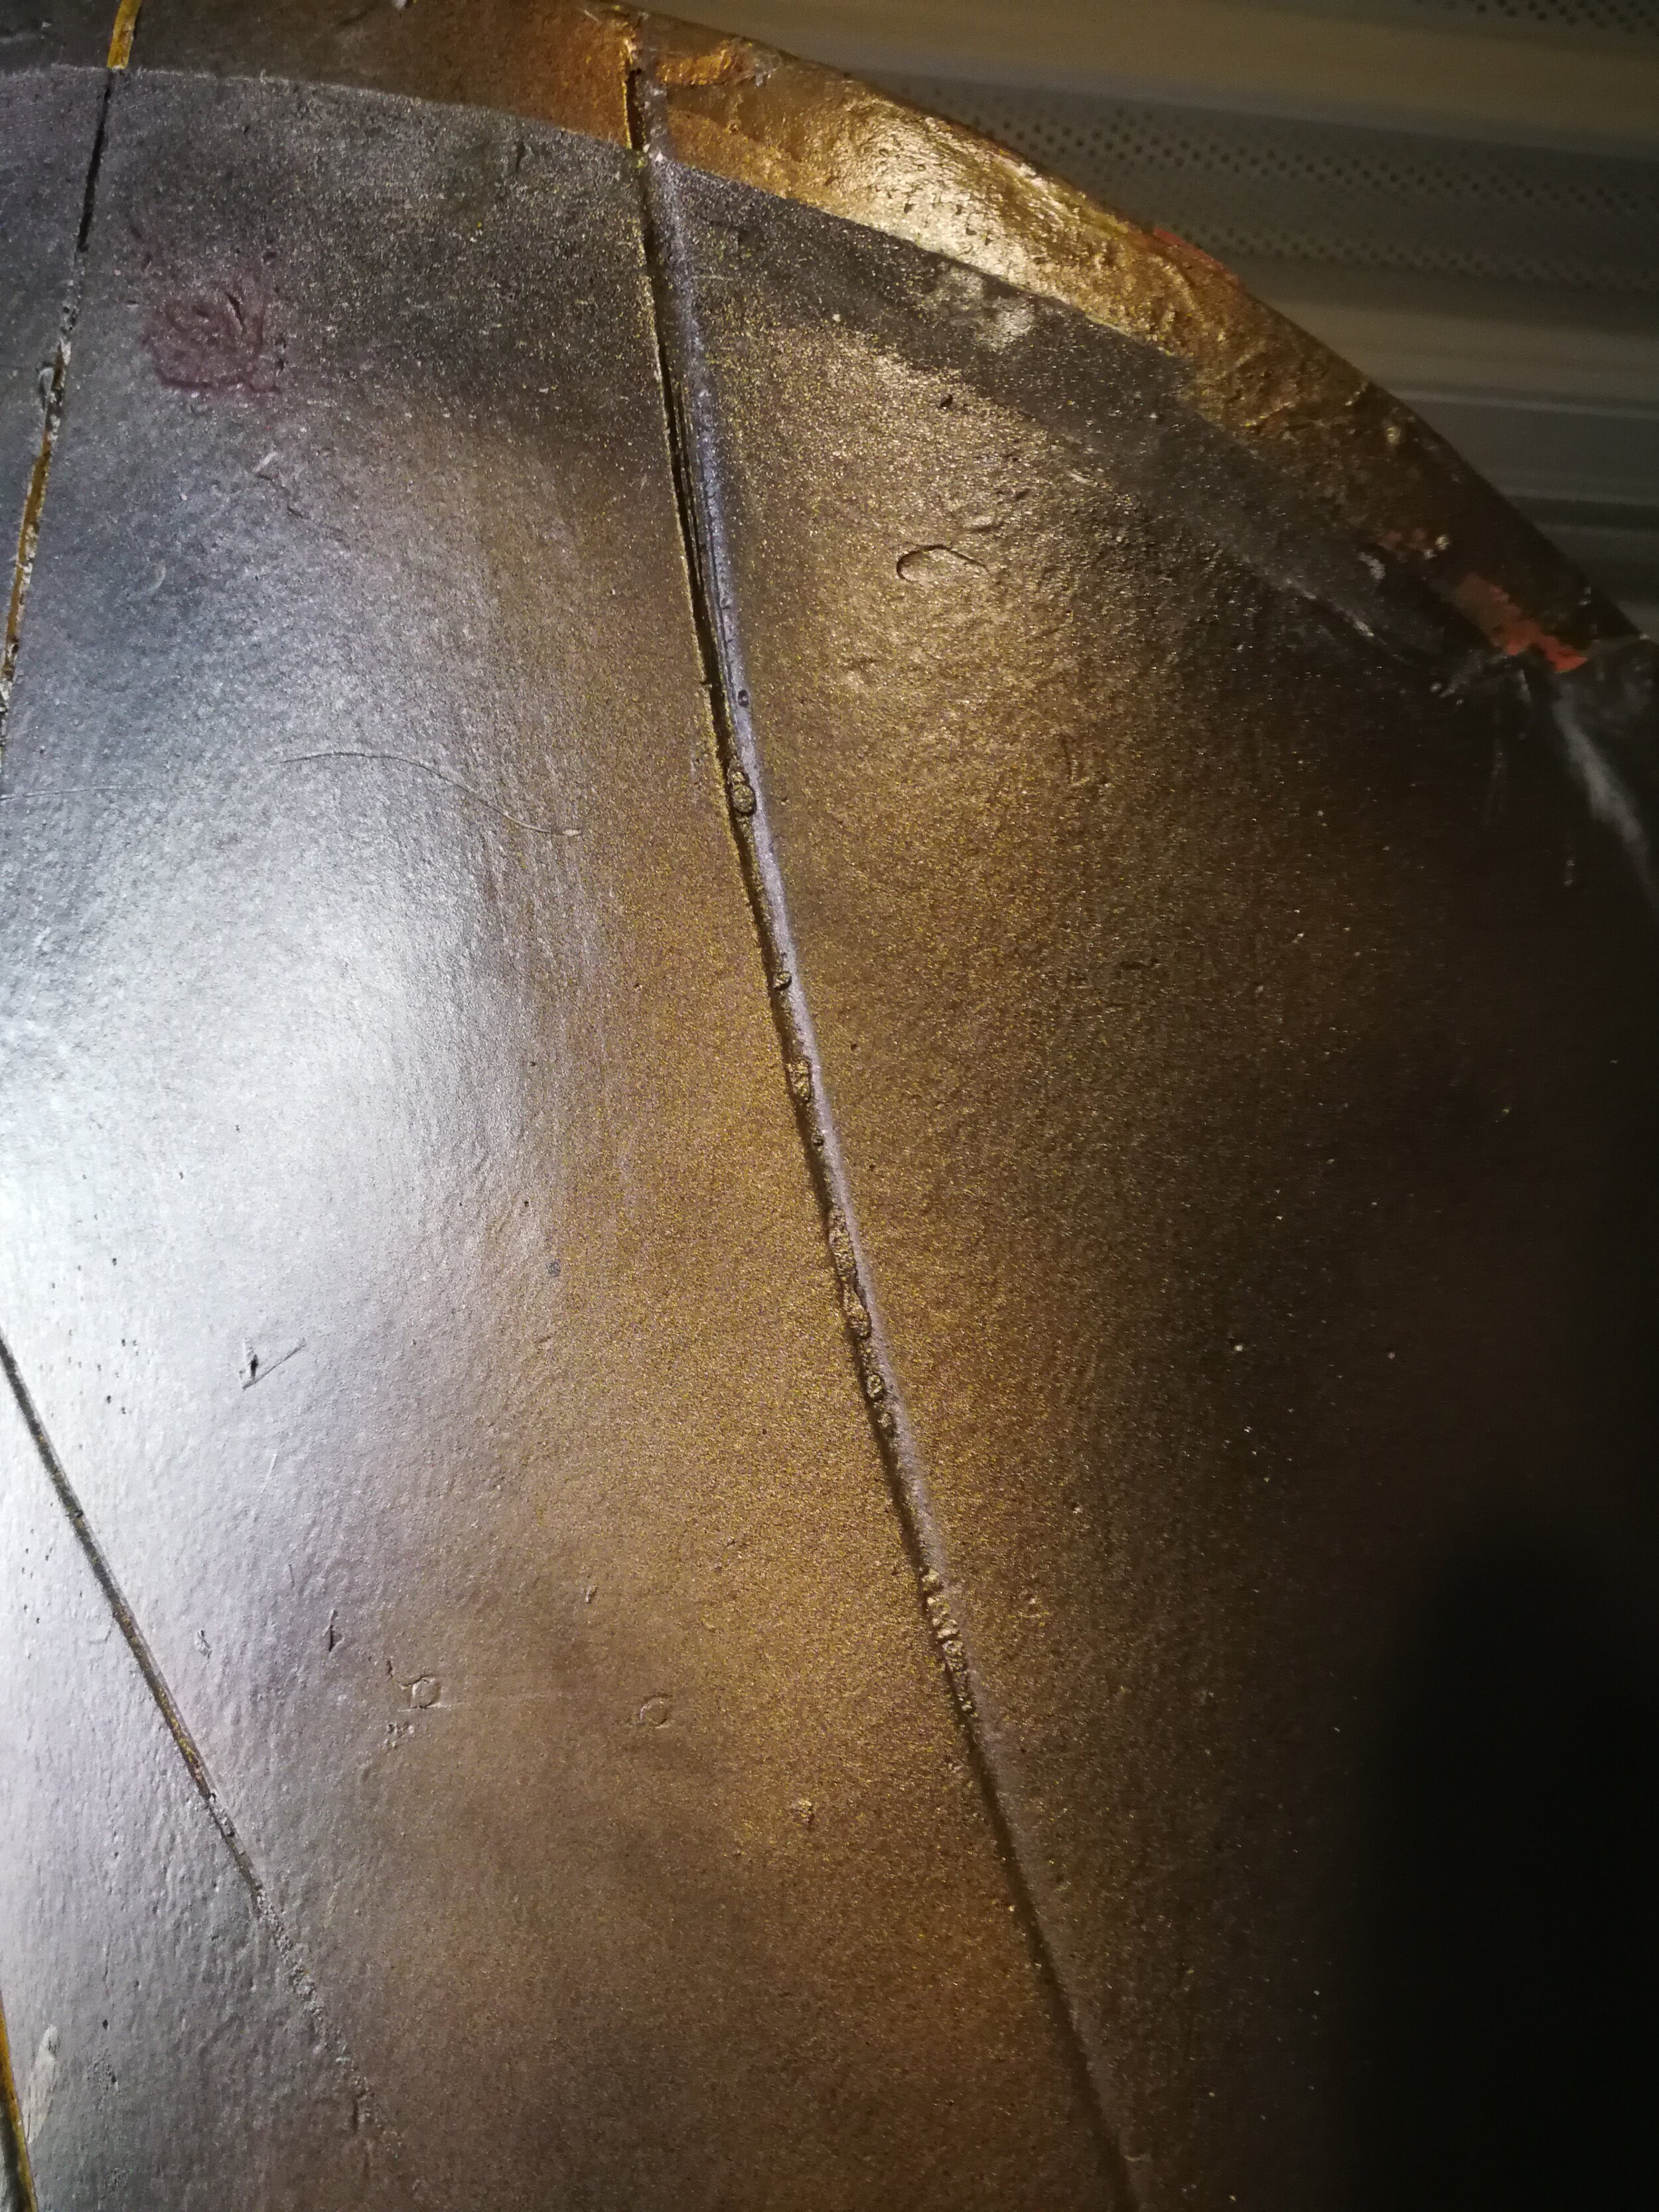
In order to replicate the texture of the DHD to the (too smooth) repaired areas I made some silicone pads : i brushed silicone over many areas from the DHD in order to create those pads.
The areas that were repaired and painted black, were then sanded down to remove the black coat. Epoxacoat was used over those areas, and while curing I used the pads as stamps to create the texture.
Repainting
In order to blend the texture to the rest of the DHD, once the epoxacoat would be dry, I knocked it off a bit by sanding it. Primed, black basecoat and a mix of different colours to achieve the same pattern as the DHD. I also had to repaint the silver and gold grooves.
Clearcoating
The top part being quite large was a bit of a challenge to clearcoat in one single attempt, but I found a forklift to help out.
I sprayed about 1,4 liters of satin varnish, in 3 coats spread over an hour and a half. The data sheet stated to let it dry for 24 hours. I put it aside for 72 hours at the top of the forklift to avoid most of dust from the shop.
>> bottom part - Restoring process
Unlike the top part the bottom didn’t have much defects to fix, so it was pretty much a quick task to complete. Just a few holes and cracks to patch and blurps to remove.
Repainting
Just like the top, i repainted it
[ Thanks to Alex who reviewed the article for spelling and grammar errors :) as english is not my native language ]


